
East Asian brushwork includes Brush, Ink stick, Ink stoneand Paper. These four are known as “The Four Treasures of the Studio” (for painting) and “The Four Treasures of the Study” (for calligraphy).
Traditionally, two types of paper are used in brush painting. One type is “raw paper”, and the other one is “sized paper”.
In the West, raw paper is known as “rice paper or Xuen paper”. Although it is called rice paper it is not made from rice at all but is rather derived from one of two shrubs – bamboo pulp or mulberry pulp. This kind of paper is not sized and it is extremely sensitive and absorbent. Ink and colour used on unsized paper are difficult to control and apt to blur until you have had experience using them. Sized papers have added alum and glue, and are less absorbent. Traditionally, the painting is done on rice paper with skillful practises.
The final painting is wet mounted onto another sheet of rice paper. “Wet mounting” is one of the special techniques used to mount East Asian calligraphy or painting.
It will take a few days to complete.
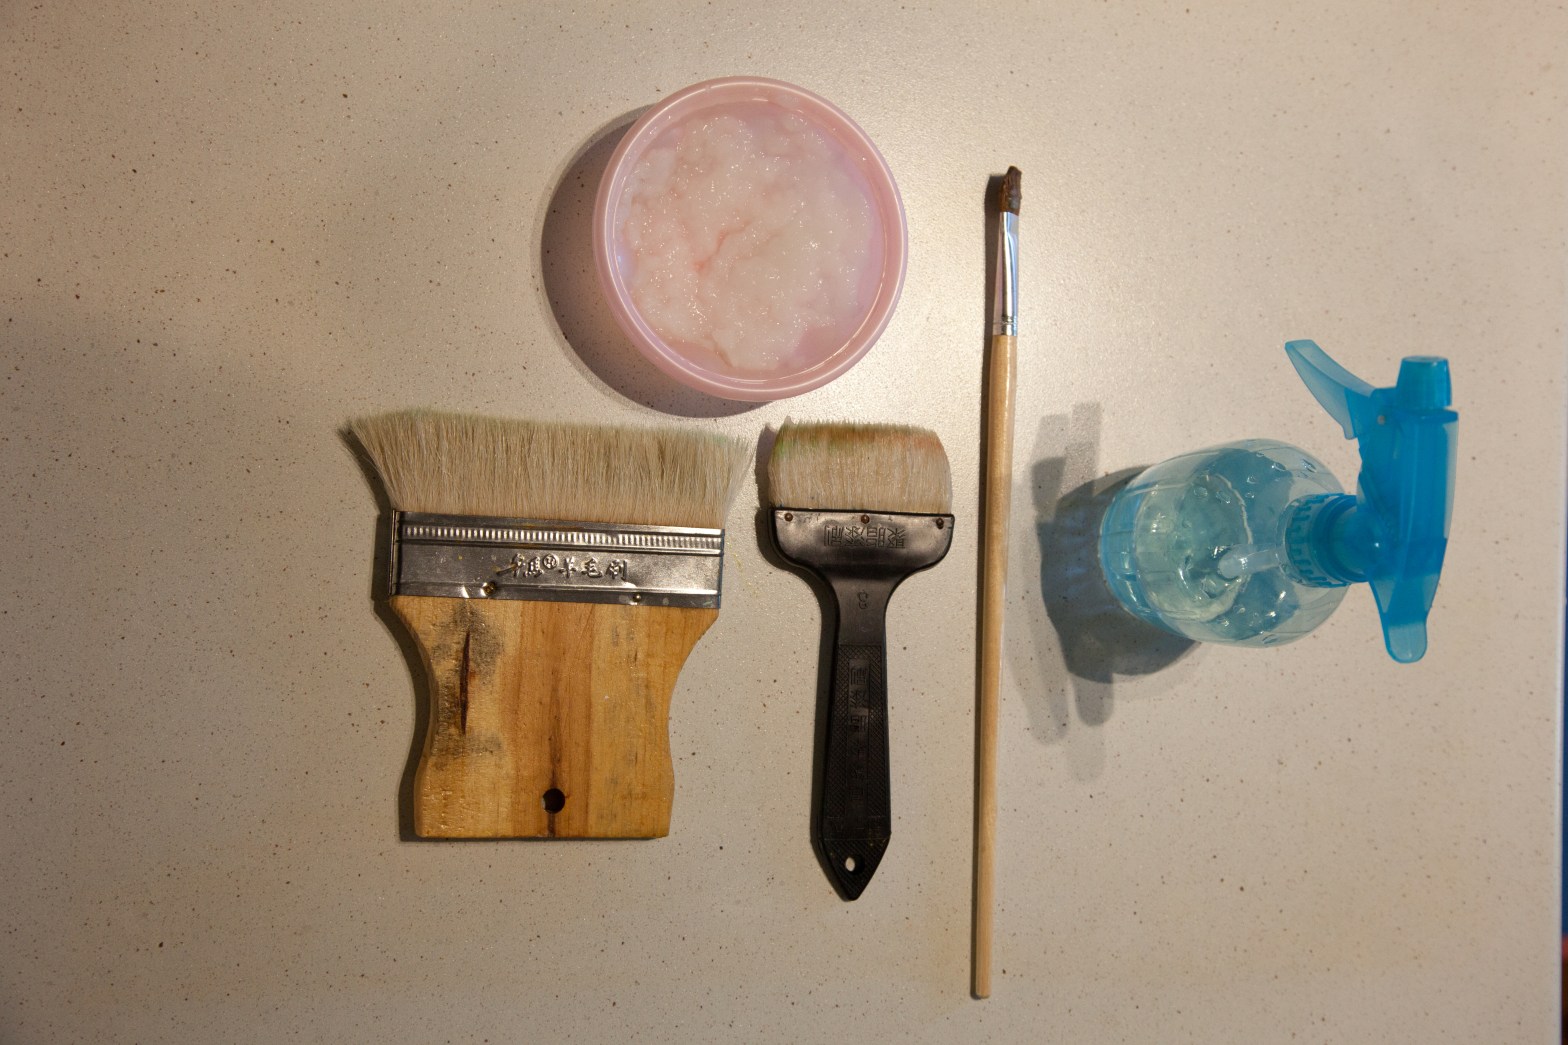
Wet mounting tools and materials:
– a bowl
– a measuring cup
– a wooden spoon
– some wheat starch
– archival spray fixative
– a clean and smooth waterproof workbench
– a water spray bottle
– a wide, soft-bristled brush for applying the mounting paste
– mounting papers
– a knife
– a stiff-bristled brush to smooth the mounting paper after pasting
– a huge glass window or a large wooden board to hold the mounted painting for drying
– a needle to remove dust from moist artwork
Mounting steps:
1. Making the paste/glue.
The paste made from wheat starch is a high-quality glue which is free of acid and protein. It is better for the long-term preservation of the painting. It is made by combining one part of wheat starch to four to five parts of pure water (e.g. 100 g wheat starch to 400 to 500 mL purified or distilled water). First boiling 200 mL water with wheat starc, then add another 200 mL to 300mL water to wheat starch and water mixture. Using a very low heat, heat the mixture, continuously stirring it either anti-clockwise or clockwise, in the same direction , to prevent burning the glue. Continue heating and stirring until the paste is a consistent thick texture, and is a little translucent. Then allow the paste to cool down before using it later that day, or the next day. The paste can be stored in the fridge for a week to ten days.
2.Cutting out the mounting paper.
The mounting paper should be wider than the painting itself. Allow at least a 3 to 4 cm border all around.
3. Preparing the painting.
– Keep the work surface clean and mounting tools ready.

– Note that some colour will bleed during wet mounting. To prevent it happening, spray the painting with archival fixative and allow it to dry before starting the mounting.
– Place the painting face down on the worbench.


4. Spraying water on the back of the painting and use the brush to flatten it.


5. Applying the paste with a soft-bristled brush.


6. Attaching the mounting paper. The rice paper has two sides – one is rough and the other is smooth. Centre the paper with the rough side face down. Allow a border all around the painting.


Repeat steps 4 to 6 to attach a second layer of paper. This is not absolutely necessary for wet mounting, but it strengthens the back for framing.


7. Preparing the margins
– Apply the paste/glue to the outer edges.


– While the paper is still wet, gently lift the painting from the workbench.


– Place the mounted painting on an upright piece of glass or wooden board, to dry.
– Firmly but gently brush the surface to flatten it and brush out any air bubbles.
– Make sure that every edge has been glued properly otherwise the painting will warp during drying.


-While the painting is still wet, gently and carefully remove any dust or any small hairs, using a needle.
-Allow the painting to dry completely. This will take at least 24 hours.


8. Removing the painting
– Remove the painting from the glass or board by cutting around the edge.
– Inset a blade behind the painting and gently remove the painting in the following way: starting at the top corner lift and pull it slowly from top to bottom.


Voila!! The wet mounting process is finished!
It looks very easy, but it requires a lot of skill and experience to produce a painting which is flat and which will be preserved for a long time.
